
©Copyright
Hevanet Communications
All Rights Reserved
|
iPhone/iPad Email Setup
To configure your iPhone (software version 1.x) for email, please follow these steps:
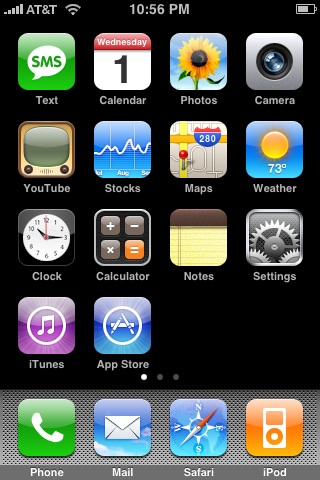
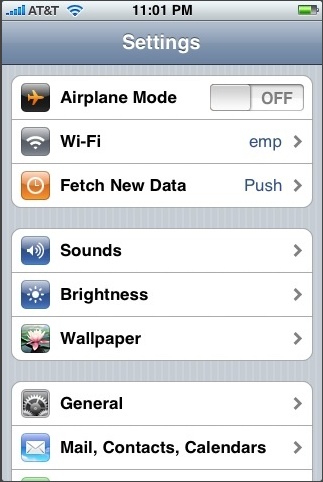
- From the Dashboard, click Settings.
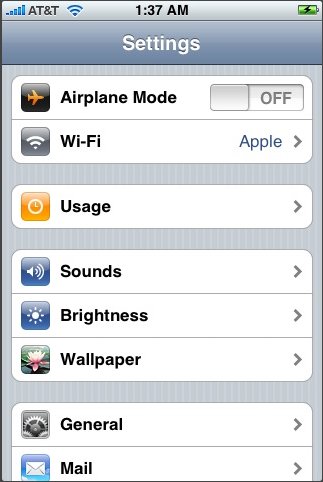
- Under Settings, select Mail.
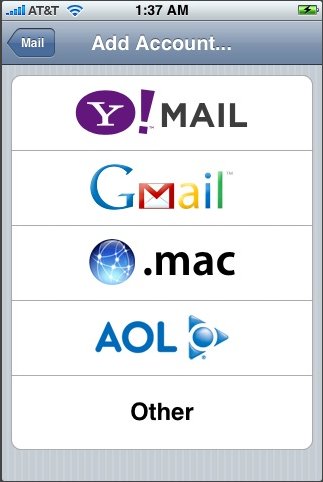
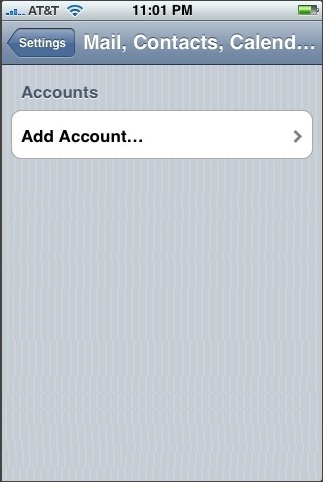
- Select Add Account...

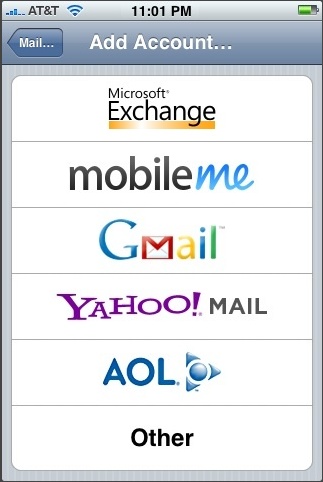
- Select Other as the type of account.
- Select POP.
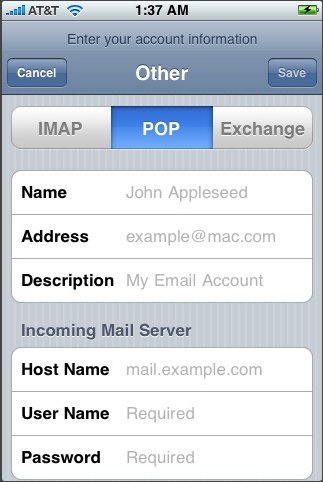
- Enter the requested information:
- Name: Your Name
- Address: Your Hevanet Email Addres
- Description: Hevanet Email
- Host Name: pop.hevanet.com
- User Name: Your Hevanet login name (usually the part before the @ sign in your email address)
- Password: Your Hevanet Email Password
- Outgoing Server: mail2.hevanet.com
- Click Save.
- If you see a message that says "Cannot Connect Using SSL", click Yes when asked to setup the account without SSL.
- Click Save.
- Click Settings for the account you just created.
- Click Advanced.
- Set Incoming Uses SSL and Outgoing Use SSL to OFF.
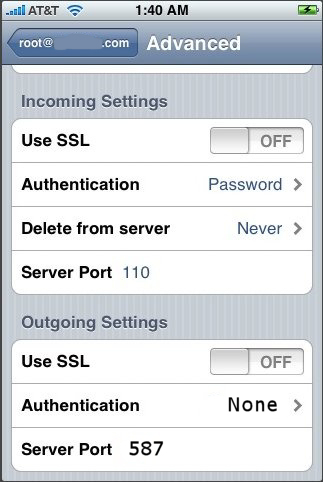
- Under Incoming settings, click Authentication and select Password.
- Under Outgoing settings, click Authentication and select NONE.
- Under Outgoing settings, the Port should be: 587.
To configure your iPhone (software version 2.x) for email, please follow these steps:
- From the Dashboard, click Settings.
- Under Settings, select Mail, Contacts, Calendars.
- Select Add Account...
- Select Other as the type of account.
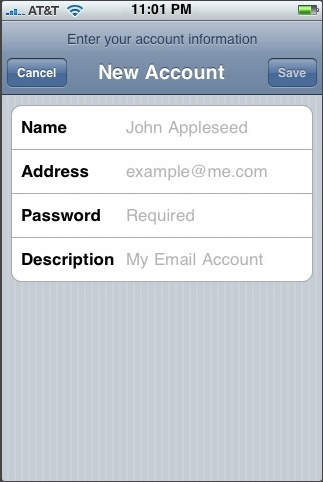
- Enter the requested information:
- Name: Your Name
- Address: Your Hevanet Email Address
- Password: Your Hevanet email password
- Description: Hevanet Email
- Click Next.
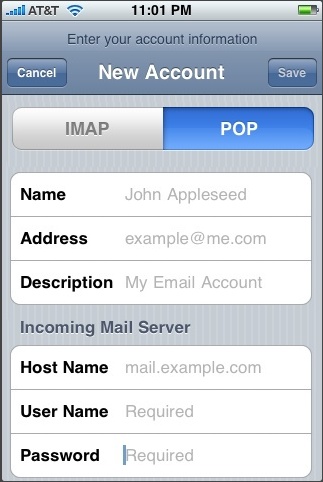
- Click POP and enter the Incoming Mail Server information:
- Host Name: pop.hevanet.com
- User Name: Your Hevanet username
- Password: Your Hevanet email password
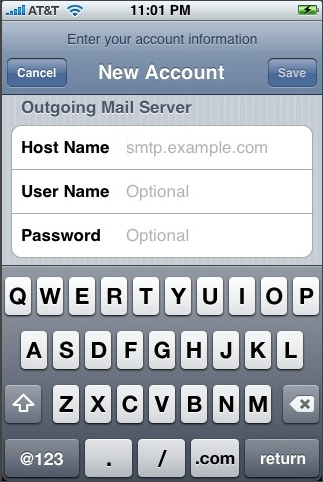
- Scroll down and enter the Outgoing Mail Server information:
- Host Name: mail2.hevanet.com
- User Name: Leave blank
- Password: Leave blank
- Click Save.
- If you see a message that says "Cannot Connect Using SSL", click Yes when asked to setup the account without SSL.

- The Advanced settings for the account will be displayed and do not need to be changed.

|
|
